
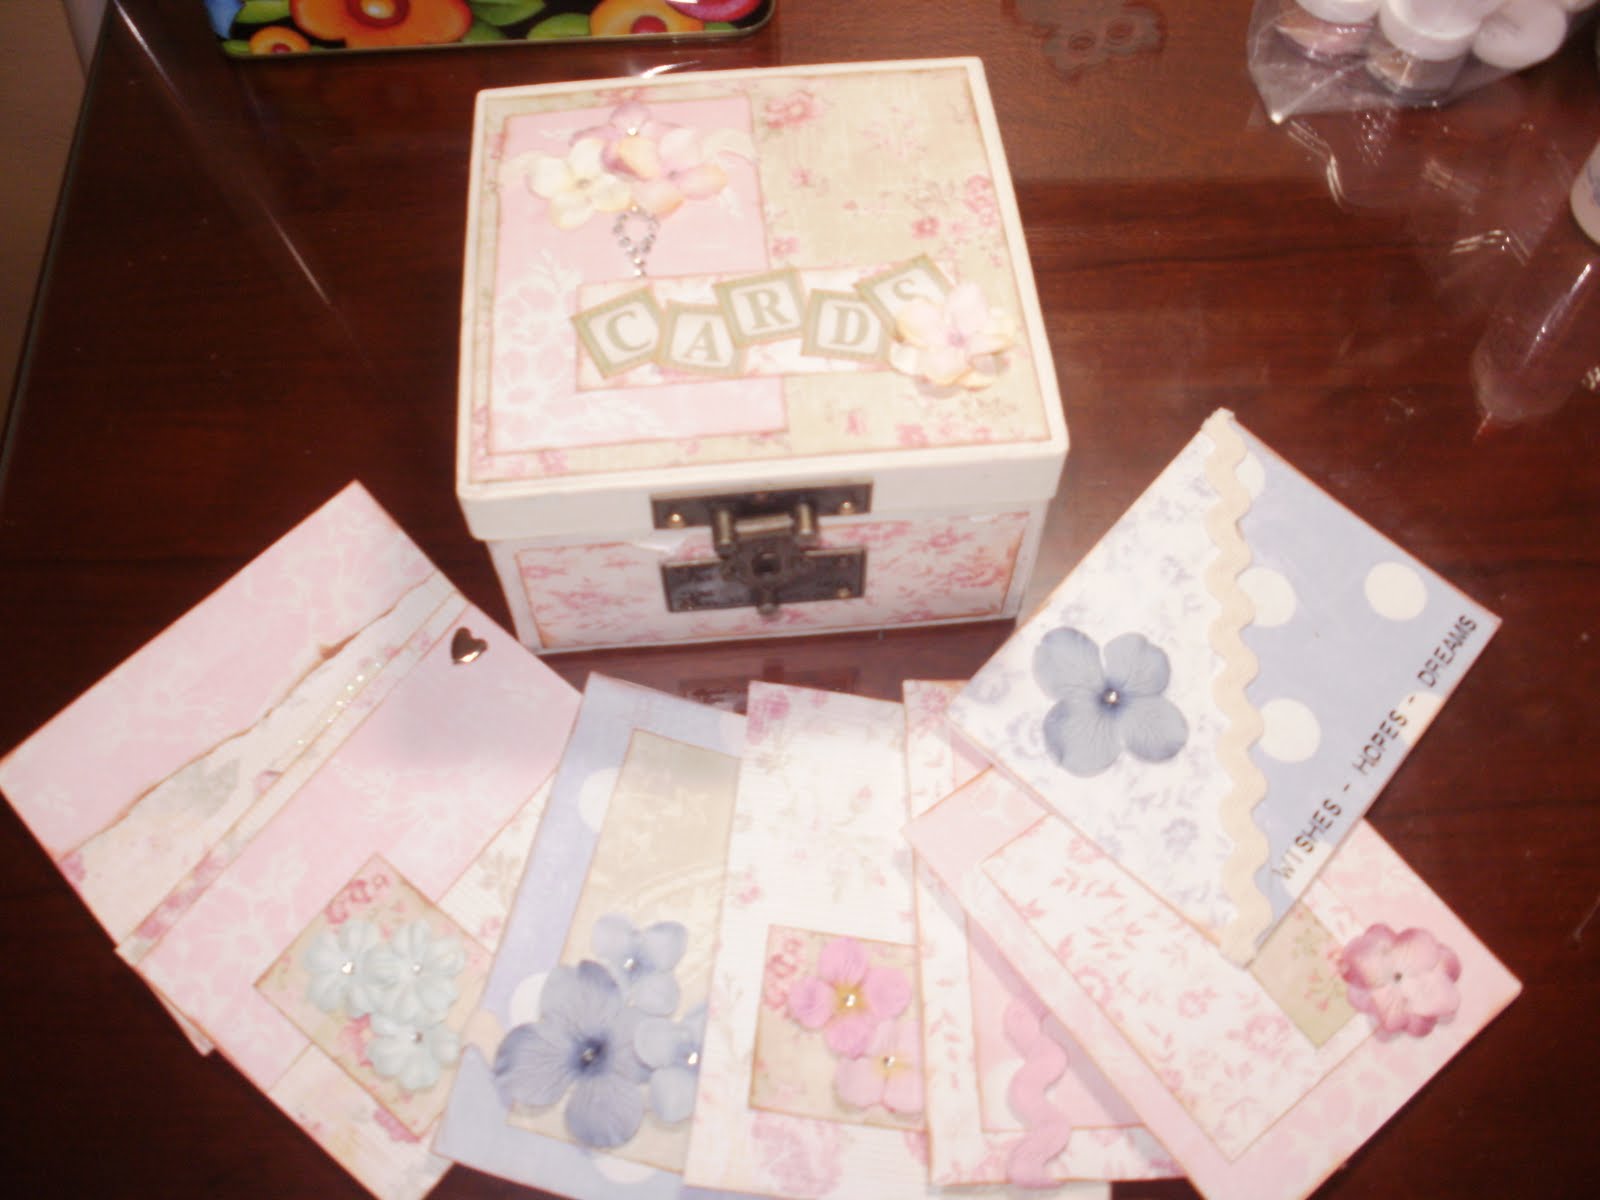
 This is an upcoming gift for a friend. The papers and box are Melissa Frances, and I added the Prima flowers, rick rack and bling. Have to still find some envelops that will fit!!! Love the shabby chic look, don't you?
 Enjoy!
Beverly
 This is an upcoming gift for a friend. The papers and box are Melissa Frances, and I added the Prima flowers, rick rack and bling. Have to still find some envelops that will fit!!! Love the shabby chic look, don't you?


 Enter Mixology Crafts giveaway for the new Cricut Expression 2 Anniversary Edition!
 I recently entered a contest on Getting Cricky's blog hop for The Sewing Box Giveaway, through www.TheOriginalScrapbox.com and WON!!! I have won their GIANT Cutting Board that is self healing on one side and a work surface on the other. They have awesome products and I am so thrilled to be receiving this wonderful prize, especially because I am in need of this for my desk top!!! (Happy dance!!) As delighted as I am, I now am looking forward to the next part of this contest in which I am one out of 9 others in a final drawing for the Sewing Box, which is their newest craft space. If I win this, my poor sewing machine will be so happy, since it has been resigned to sit on the floor behind a chair, in the corner of my room! Poor, poor sewing machine! Needless to say I and my machine will just be so thrilled, and of course I will be doing my happy dance, all over again!
 Here is the blog to check out the others. www.cr84fncolorchallenge.blogspot.com
  Double page layout made from Daisy D's patterned paper.
  Flower cut from Mother's Bouquet Cricut Cartridge, inked and dimensionalized.
  Close up of flowers. Cut at different sizes, inked and then layered.
  Other side of layout.